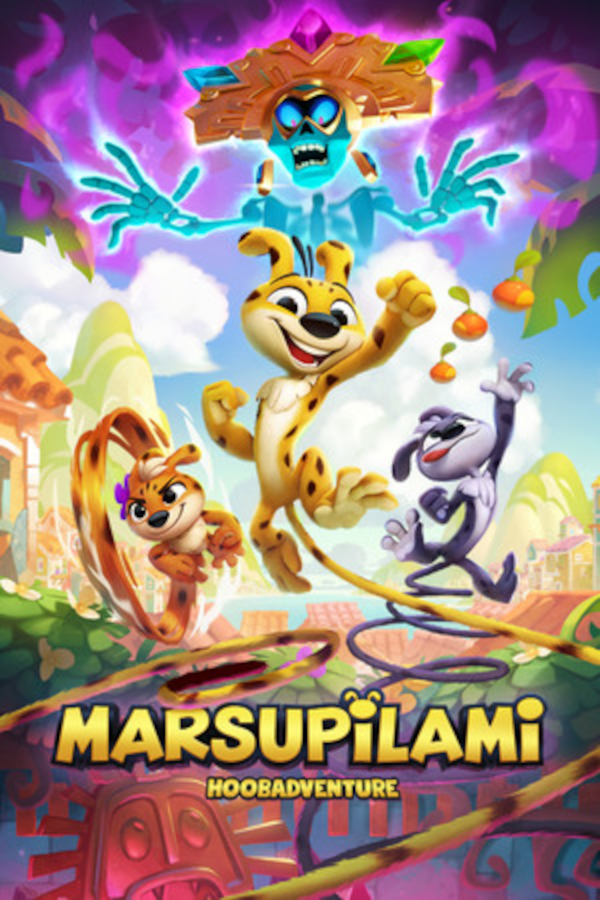


I made a list of all the feathers and dojos for every level, to help with my 100% run. This is not a guide for first time players, it's just a checklist I keep open to make sure I don't miss anything.
F = Feather D = Dojo
Palombian Beach F1 - above main path F2 - after conveyor D - hidden area right of trapdoor F3 - above main path, need to backtrack F4 - in main path F5 - above main path
Crazy Cranes F1 - above main path D - hidden area above/right of conveyor F2 - conveyor -> platform, above F3 - above rotating platforms F4 - above path, left of platforms F5 - next conveyor, up platforms, above parrots
Treacherous Climb F1 - green platform, under main path D - hidden area, above hook jumps F2 - above parrot, under main path F3 - above parrot, after toucan launch F4 - left after long drop F5 - bounce up, with moving fruit
Massive Destruction (alternate) F1 - trapdoor right of visible feather D - trapdoor left, at bottom of multiple trapdoors F2 - right of visible feather, above path F3 - visible below path, under breakable platform F4 - in main path, above spikes F5 - hidden area, bottom right of visible feather (careful with ground pounds on trapdoors)
Wobbly Site F1 - above main path, left of chameleon D - above parallel moving platforms F2 - above path, backtrack from right F3 - above path, backtrack from right F4 - under moving platform F5 - past ending fruit, hidden path backtracks
Turn-N-Turn F1 - between parrots F2 - above path, backtrack on platforms D - hidden area left of moving parrot F3 - under path, above rotating platforms F4 - under path, above 4 parrots F5 - above parrots, between hook jumps
High Speed Line F1 - between toucans, above first toucan F2 - lower conveyor F3 - below breakable platform, above parrot
Bouncy Bouncy Forest F1 - above 2 beetles, in main path F2 - after flag, above bounce pad D - trapdoor after ground-level bounce pads F3 - above 3 frogs, in main path F4 - above path, hidden bounce pad below path F5 - hook jump right of ending fruit
Ring & Swing F1 - above main path, backtrack from hook swing F2 - after hook swings, bounce on parrots D - hidden path (green platform) under main path F3 - above path, backtrack after hook swings F4 - in main path, left of red hook jump F5 - between big swings, above parrot (move fast)
Rolling Spikes F1 - after rolling balls, ride up 2 blocks D - hidden area above 5 blocks F2 - between 2 hook jumps, in main path F3 - under large balls, breakable platform F4 - above large ball spawn F5 - after ending fruit, above block
Raft Peril F1 - left of start, hidden area F2 - after blocks, visible above main path F3 - jump off 3 parrots D - toucan, fire up (not right) F4 - above bouncy turtle, between 2 spike poles F5 - next immediate high path
Vine Canyon (alternate) F1 - between 4 bats, above conveyor F2 - visible on conveyor, under main path D - next conveyor, jump to higher conveyor F3 - visible on optional conveyor, under path F4 - above bat on conveyor (I don't know how to not take damage) F5 - parallel rising conveyors, right side
Trip to the Clouds F1 - left of start, hidden area, toucan F2 - moving toucan, left path (with fruit) F3 - toucan to moving toucan, follow fruit F4 - in path, between toucans (and bats) D - after bat circle, upper path, jump off frog F5 - in bat circle, between toucans
Night Chase F1 - under parrot F2 - bounce up between parrots F3 - left of red hook jump
Temple O'Lanterns F1 - above path, backtrack from moving platforms F2 - hidden area, above/right of parallel moving platforms D - trapdoor between fireballs, fruit path down F3 - under green platform, in main path F4 - visible under rope platform, backtrack F5 - running from boulder, upper platform
Tic-Tac-Smash F1 - beetle bounce, upper retracting spikes D - after flag, climb retracting spikes, follow fruit F2 - visible above block, toucan left F3 - visible above, backtrack up spikes F4 - visible under spikes F5 - above path, red hook jumps
Falling Ruins F1 - above parrots, in path D - hidden area, right of falling column, above path F2 - below falling column, in path F3 - upper right of falling column, in path F4 - above swinging hook, near bat, in path F5 - right of ending fruit
Hide and Spike (alternate) F1 - below breakable platform F2 - giant fireball spawn, avoid trapdoor D - trapdoor under path and fireball, slight backtrack F3 - under falling fireball F4 - red hook jump, near ultra giant fireball (avoid trapdoor, tight timing) F5 - above path, near fireball spawn (don't toucan)
Final Battle F1 - under falling blocks, jump off platform F2 - conveyor transfer (move quickly) F3 - above chameleon, wall jump left
This Game has differing Loadingtimes between different Hardware, even between different Attempts(might be caused my a Memoryleak who knows). i recommend restarting the Game every Hour to have consistent Loads. Regarding the LRT Column, only Top 3 Runs within ~25secs of each other(on PC, Console has