
If there is any information you feel is missing, is incorrect or you simply have a question, please contact me and let me know! (or post on the Forum, your question could help others). A french version of this guide will be produced as well.
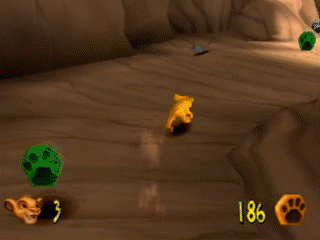
Pride Rock
Before even starting the run, make sure that you've set the difficulty to medium to skip the tutorials. Note that this should only be done in Full-game and Pride Rock Individual Level runs.
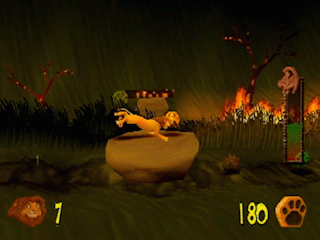
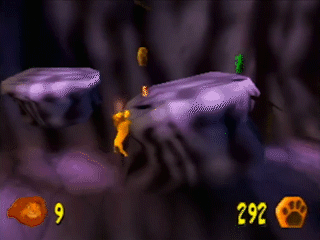
Collect all high value paws. Right after the rainbow paw, you can do two ledge skips.
At the end of the level, Mufassa has a few different dialogues. The one he chooses is random and you'll have to hope for the shortest one. I measured from the first frame of the UI starting to disappear to the first frame of the black bars starting to retract. Keep in mind the timings are somewhat inconsistent, so as long as you don't get one of the two slowest dialogues you'll be fine.
- ~3s "You still have much to learn, son." (2.67-2.99s)
- ~3s "You have only begun to learn, Simba." (2.87-3.01s)
- ~4s "One day, you [too] will be a great King, Simba." (3.79-4.3s I've had this one with the additional word be faster)
- ~8s "Excellent, but use your strength wisely. As King, you must learn the delicate balance of the circle of life." (7.77-8.07s)
- ~9s "Well done, but remember: As you grow in power, you must always have respect for every living thing." (8.52-9.04s)
INVESTIGATE IF THERE'S ANY OTHER VERSION THAT OFFERS DIALOGS FASTER THAN 3s !
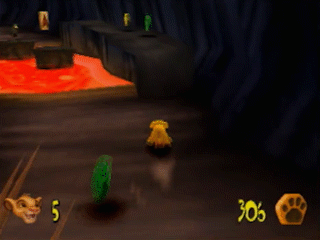
Graveyard
Hold right before the level starts as Simba can start moving before the screen fades in.
Hold left and slightly upward after entering the hyenas' cave until you get the health regen as controls are messed up for some time after a screen transition.
[insert clip with controller]
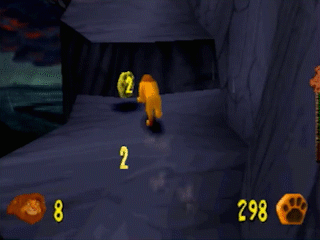
Hyenas
Enter the fight from the right path. Keep holding forward as you bounce on the first two, then pounce to kill them, second pounce on the third hyena which started moving and finally land and align yourself to roll as the final blow. I find this setup to be the most consistent and easy to make up for any mistake.
Stampede
Do not hold down until you gain control of Simba or he'll turn around, you'll loose time and the cycles will be off. Sometimes Zazu's dialog won't trigger and you can start the level immediately. We do not know of any way to skip it on purpose.
There's a specific route I made myself for stampede, but I won't write it down for a simple reason: While the Gnu's path is consistent between runs, it will differ between console models and disc reading speed, so you will have to develop your own route. The gist of it is to go for all the high value paws† without stopping and collecting all other paws in your way. Do not start jumping over the giant chasm at the start, just pick a side that suits you best with your gnu positions, don't hug the walls too much and roll to help avoid the boulders.
† You actually end up with more than enough paws. I might try to develop a precise route that ends up skipping a few for a marginal time gain.
Old Friends
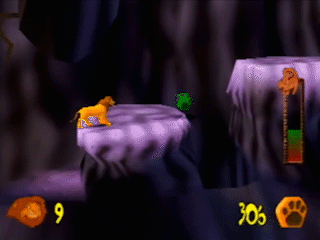
When the path splits up and down, go up, you should be able to do two ledge skips there. This is mandatory to get enough paws.

Jump over the boulders. It's fine if you take damage.
At the end of the level, it is possible to ledge skip the giant log, without pouncing even. This only ever happened to me 4 times and I could not even repeat it in a TAS. [insert clip of log ledge skip if I ever do it again]
Return of the King
Collect the purple paw before the I letter. It is not necessary and technically faster to simply jump over the large gap, but this is used as a backup in case you miss a later trick and wouldn't otherwise have enough paws to finish the level.
Roll before the health restore, the change in ground color/texture is actually a tiny ledge and will sometimes slow you down. Then go over the two fire pits on the left. This will align you properly to avoid getting hit by the following bird, although I still suggest rolling right before you jump, just in case. [insert gif]
Collect the blue paw after the letter M then immediately jump to prevent accidentally falling, then try to jump on the next two boulders while collecting the purple and blue paw. Don't worry if you take damage or even if you don't get to collect anything at all (that's why we collect an additional purple paw earlier). As long as you don't bonk or fall down.
 (for some reasons the gif rendered with a gray purple paw, too many colors I guess)
You can avoid getting slowed down by the bird in the stair section by damage boosting through it using a roll near the wall. It's possible you won't even take any damage.
Scar
You should always pounce rather than roll as it does considerably more damage.
While it is possible to do the Boss Cycle Skip on Scar, it is actually faster and easier to just let him go up and keep pouncing at him while he talks. This requires some timing as you have to stay airborne.
It is also possible to kill Scar without him ever going up. However, I don't believe this is faster nor easier as he will be running around a lot. Unless you manage to continuously bounce on him without ever dropping to the ground. I've only done that once.
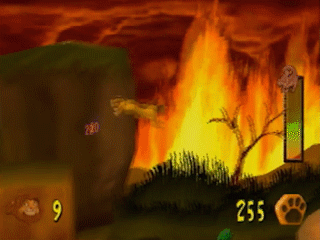
Fire
Oh boy, Fire, what a level. There is so much going on. Try to jump over ledges rather than letting yourself drop down to avoid slowing down. Jump even earlier off the first rock to avoid accidentally climbing in the tree.
On the first rolling log, try to jump over it. It's fine if you get hit as you'll have to get the health restore above the first rhino anyway. You can still give yourself a bit more leeway if you want by rapidly going backward then forward again in the air.
[ledge skip after first rolling log?]
You should slow down slightly (by pressing R1 or doing a quick back and forth) before the rock under the letter I and after jumping off of it to avoid bonking or accidentally climbing the tree.
If you have enough health (I'd say about half), you won't need to safely wait on a rock for the second rolling log. It's even possible to bounce on it without taking damage, although that's very risky. INVESTIGATE IF ROLLING COULD WORK
You can ledge skip the highest platform of the fire pit section right after. There is also sometimes an invisible wall at the end of that section, I have NO idea how to avoid it.
You can also ledge skip the big rock before the next fire pits section. Followed by a roll to avoid getting hit by the antelope.

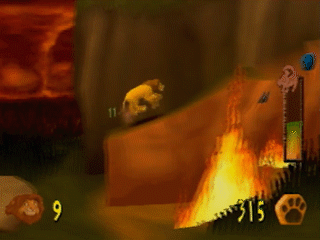
Rhino Chase
RNG Rhino bullshit. Seriously, there's nothing special in this level. The rhinos are random and the level is generous in placing all the high value paws right on your path. All you can do is learn the map layout and adapt.
Outland Attack
Whenever you encounter an enemy, just roll through it. Jump over the two rolling logs (it's fine if you take damage).
Once inside the cavern, you can ledge skip the first platform (not the second). After the second platform, damage boost through the rock if needed, jump on the log and jump on the bird or rock, whichever happens to be under you. With a bit of luck, you won't take too much damage. The three following clips serve to show how much this trick can vary in its execution.

Ledge skip the following platform, then the one above the bottomless pits. Directly afterward will be a deceptively low platform, which is harder to get on it than it looks. As soon as you land, roll under the falling rock.
The very last platform will have two falling rocks ready to smash you down to your doom and crush your dreams. Don't try to ledge skip that platform and wait a split second once you're standing on it.
Climb
There will be three spots with falling rocks during the level. You should roll along the wall to avoid getting hit by them.
The choice of path when it splits is a balance of risk and timesave. I recommend going right/doing and round the log. See this comparison video:
When the paths converge again at the end of the level, you don't need to get on Zazu's platform and can jump directly to the round on in front of you. Then stay on the left side of the platforms (while still collecting paws, you'll barely get enough) to help avoid getting hit by falling objects.
Zira
Just like for Scar, always pounce attack as it does much more damage. Unlike scar, you will not be able to hit her once she goes up (maybe once with a lot of luck), so DON'T BE GREEDY! If you think she might be going up, position yourself for the boss cycle skip.
I find the skip to be much easier to align on Zira when she goes on the right side. To help with that I have developed a way to manipulate her AI. While it's slower, unless you're going for World Record times, you should absolutely use a mix of AI manip and cycle skip rather than just hope and take whatever she gives you.
The manipulation itself is quite easy once you get a good feel of how she acts: simply run ahead of her as she is running towards one of her two jumping spots (or pounce like you're playing leapfrog) and she'll immediately turn around to go jump on the other side.
List of all known tricks and glitches
Difficulty settings
Easy: You only need to collect 100 paws to complete a level. However, tutorials will slow you down by a few minutes. Medium: You'll need to collect 300 paws in each level. This will require some small adjustments over Easy and will skip the tutorials. Hard: You'll need 450 paws to complete a level. I do not know of any reason to play on Hard. I think the difficulty might affect damage taken, but I can't tell for sure.
Ledge Skip
Normally, when Simba reaches a ledge, he'll grab onto it and you need to press X to climb up. This animation looses a little bit of time and can be skipped by pouncing at the apex of your jump. With enough height and velocity Simba will land directly on top of the platform, skipping the grab altogether and you won't lose all your momentum.
Boss cycle skip
This glitch will allow you to gain a lot of time on bosses. By hitting them or getting hit as they're descending in their jump towards the upper area or their arena, you can cause Scar or Zira to fall through and totally skip the phase where they run around throwing boulders and logs at you.
[a clip with all 4 positions]
Upward zip
By jump into certain ceilings, you can zip upwards and placed on the floor above. This trick currently has no practical effect other than being used as a backup if you fall in front of the hyena's cave in the Graveyard level. You can also climb the pile of rocks in Rhino Chase (especially funny if you climb the one that never gets hit by rhinos)