Movement and Tech Guide
Aktualisiert von Skarfelt
This is a general guide for some of the advanced techniques you can use to speed up your movement. Not all of these will be applicable for every category, but you can use this guide as a way to mess around and see what stuff you enjoy!
There’s a lot of movement options in Ori. I’ll split movement into three sections for Important, Optional, and Subtleties. There's also a video here if you just want to go over the important ones:
Important
These are pieces of tech that you’re absolutely going to want to learn.
Grounded Sentry Jump
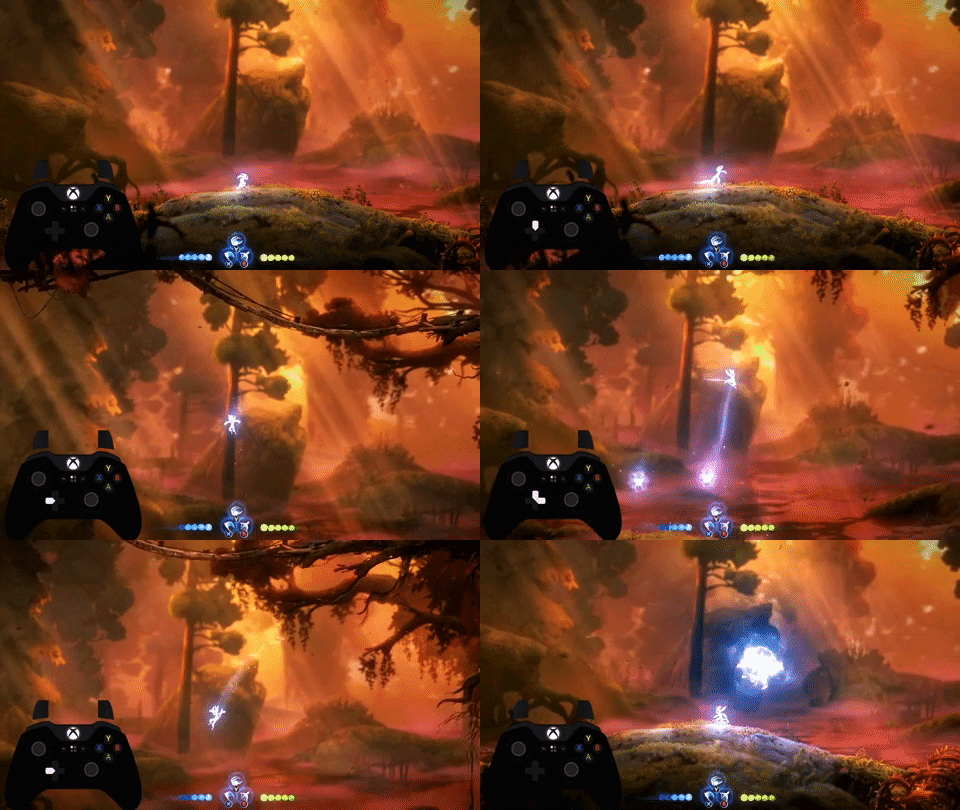
- Performed by pressing Sentry and Up Slash on the same frame.
- You can hold other directions during it. For example, you can preemptively hold both Right and Up, then press Sentry and Slash on the same frame.
- You can interrupt your upwards momentum with a Dash, Double Jump, or Down Slash.
- Every frame off from the same frame will lower your height a little bit.
- The most important trick in the run, learning this is a big deal.
- If you want more details on this and on how to set up a bind, check out Vulajin’s guide here: https://www.speedrun.com/ori_wotw/guide/niejf
Aerial Sentry Jump
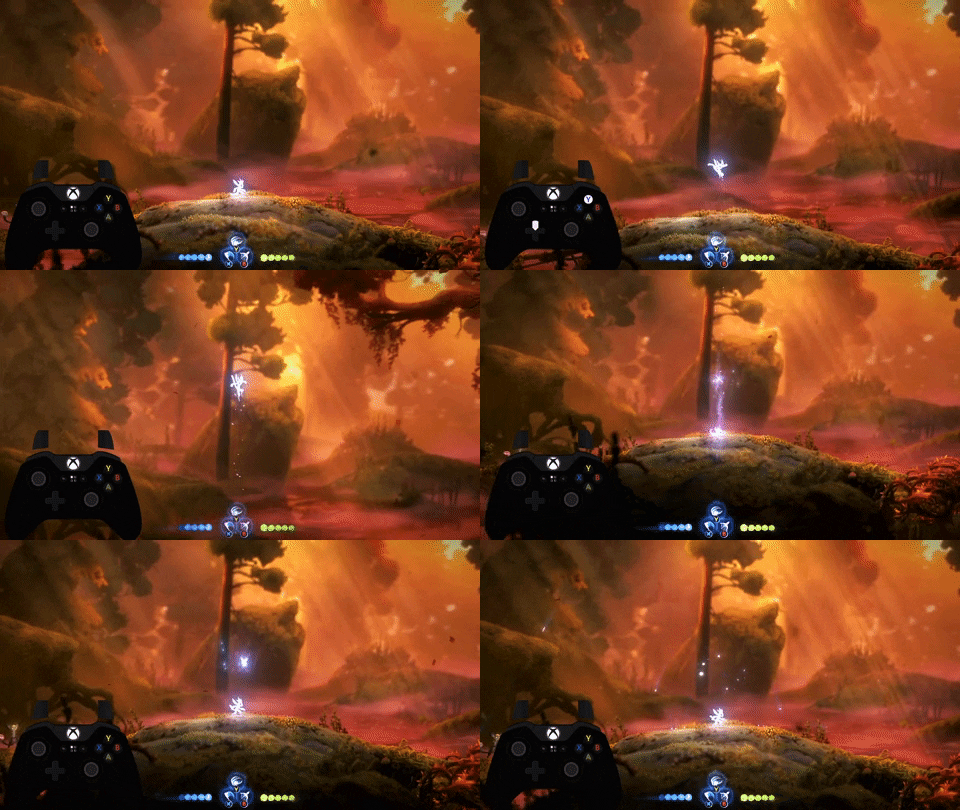
- Performed by pressing Sentry, then pressing Up Slash exactly 3 frames later.
- Doesn’t go as high as a Grounded Sentry Jump.
- This is never mandatory in the Beginner route, but is mandatory for everything above that.
Bash Glide
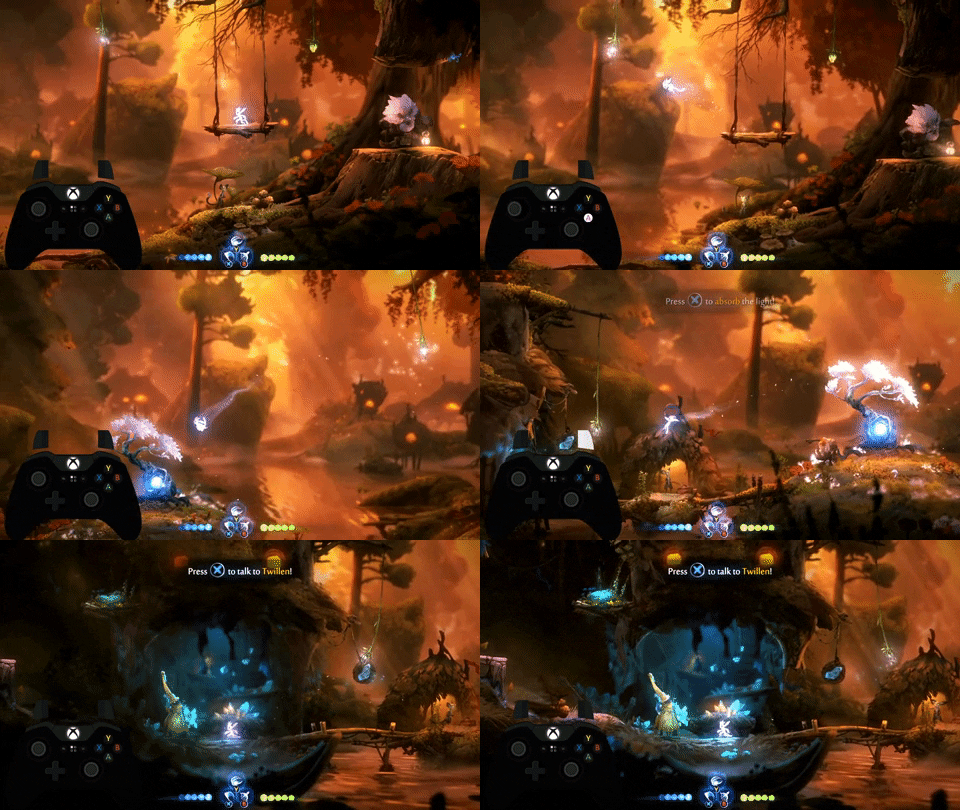
- Performed by letting go of the directions as soon as you Bash.
- This will keep the initial velocity of a Bash until you either press a direction or touch the ground. Feather and Double Jump don’t interrupt it.
- A bit slower than simply spamming Dash, but preferable in situations where Dashing isn’t possible.
Dash Slash

- Performed by doing a Slash during a Dash’s cooldown, then interrupting that Slash with another Dash.
- Remember not to alternate the inputs, but rather to group the Slash and Dash input quite close together, then wait, then do it again.
Dash Jump
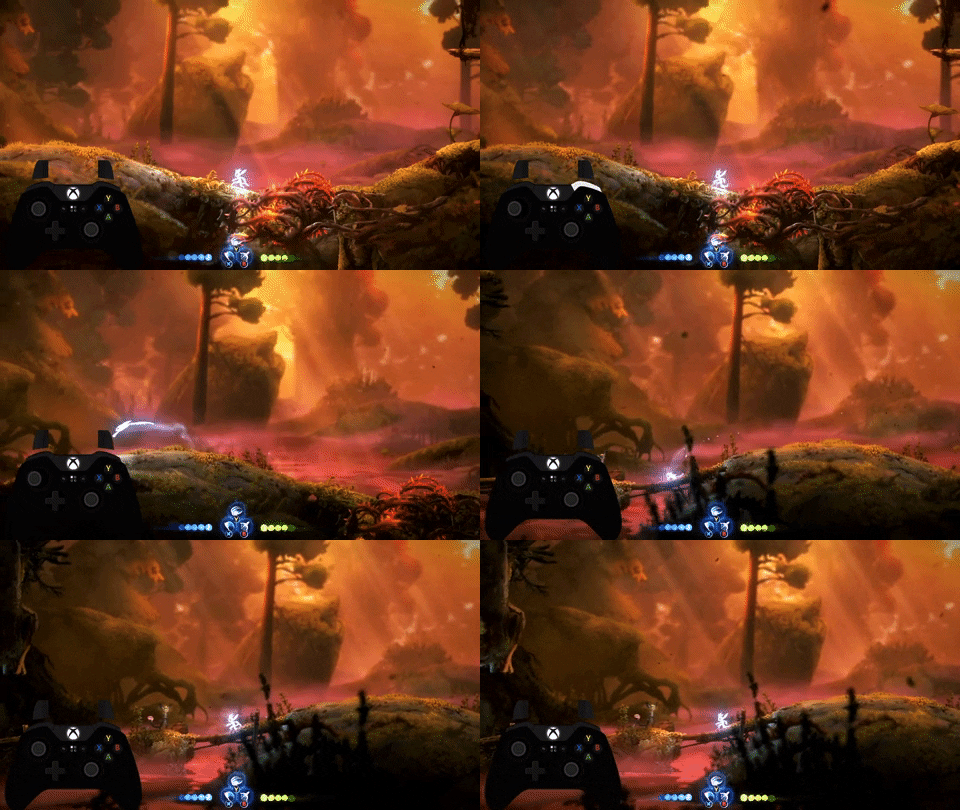
- Exactly the same as a Dash Slash, but with a Jump instead.
- Obviously chaining this together will put you into the air, so use this on sloped surfaces.
Sword Stall

- Up Slash gives you a tiny bit of vertical momentum with a stall, whereas Horizontal Slashes give you only the stall.
- After you use one of these in the air once, you won’t be able to stall again with them. Touching a wall does not refresh this.
Optional
Wavedash
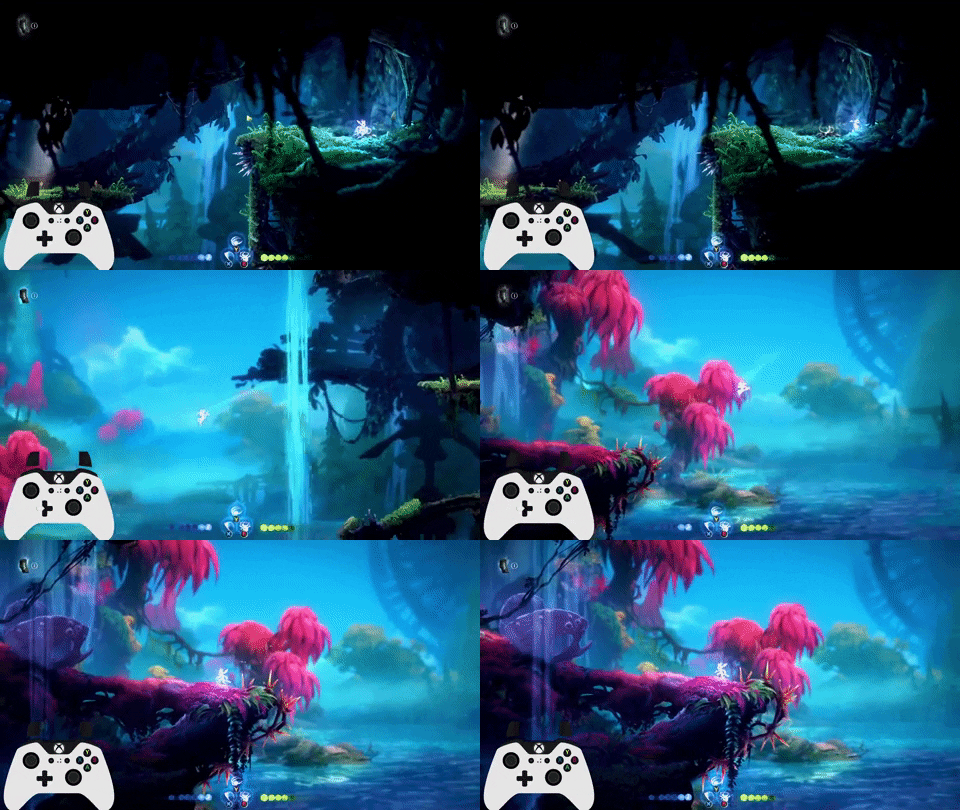
- While not strictly necessary, this one is used quite a bit in the run for optimisations.
- Dash into a wall, then hold the opposite direction + Regenerate. The closer you were to the wall when you Dashed, the faster you will go.
- You basically want to do Dash and then immediately press the other inputs. It takes some practice to become consistent.
Resource Refresh
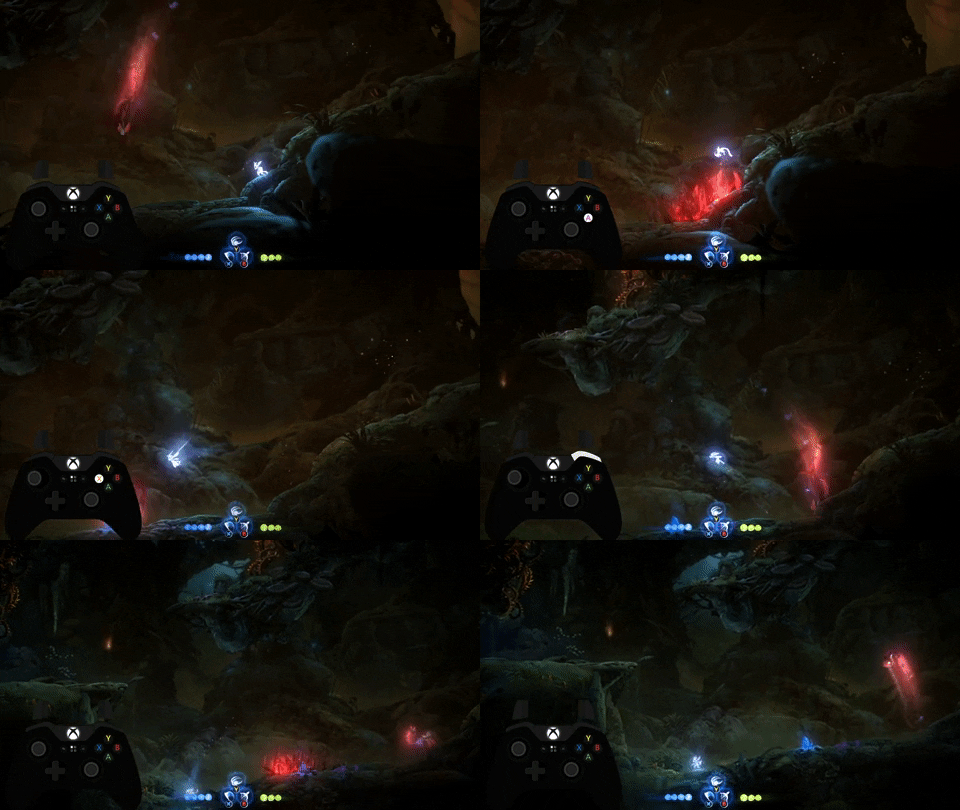
- Attacking an enemy will give you back every aerial resource - Double Jump, Dash, and Launch.
Pogo Whiff
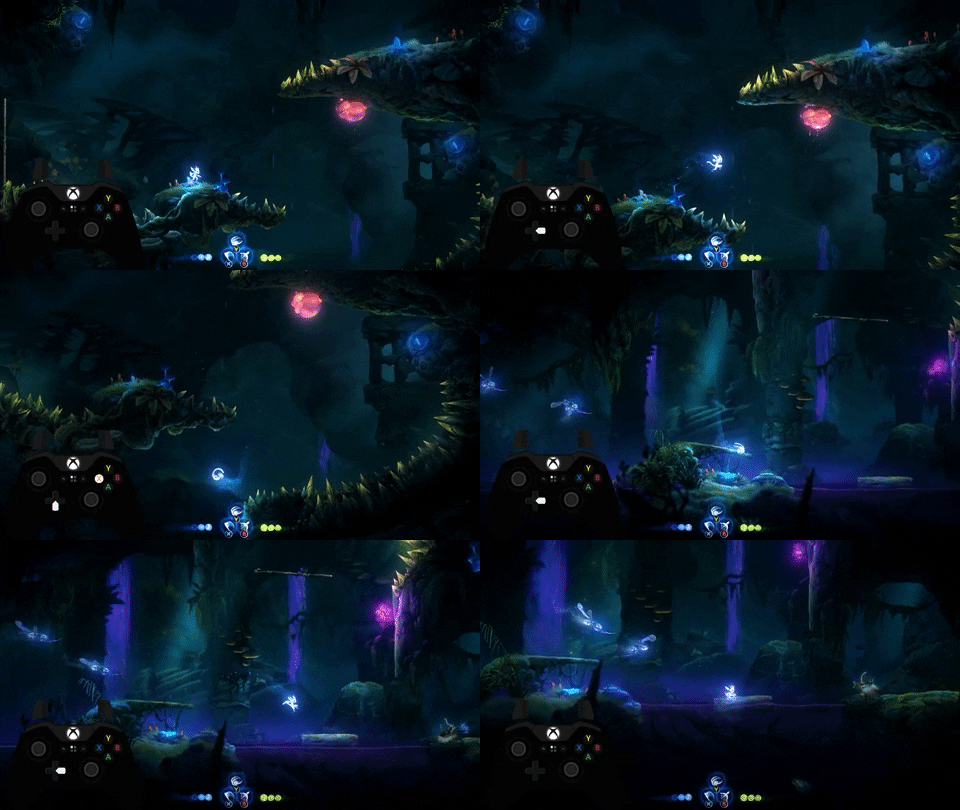
- Down Slash far above an enemy, then miss them on the way down to do a quicker fall.
Attack Cancelling

- The fifth swing of the sword cannot be cancelled, meaning it’s quicker to do less swings and then jump cancel and begin the combo again.
Subtleties
Down Slash Boost
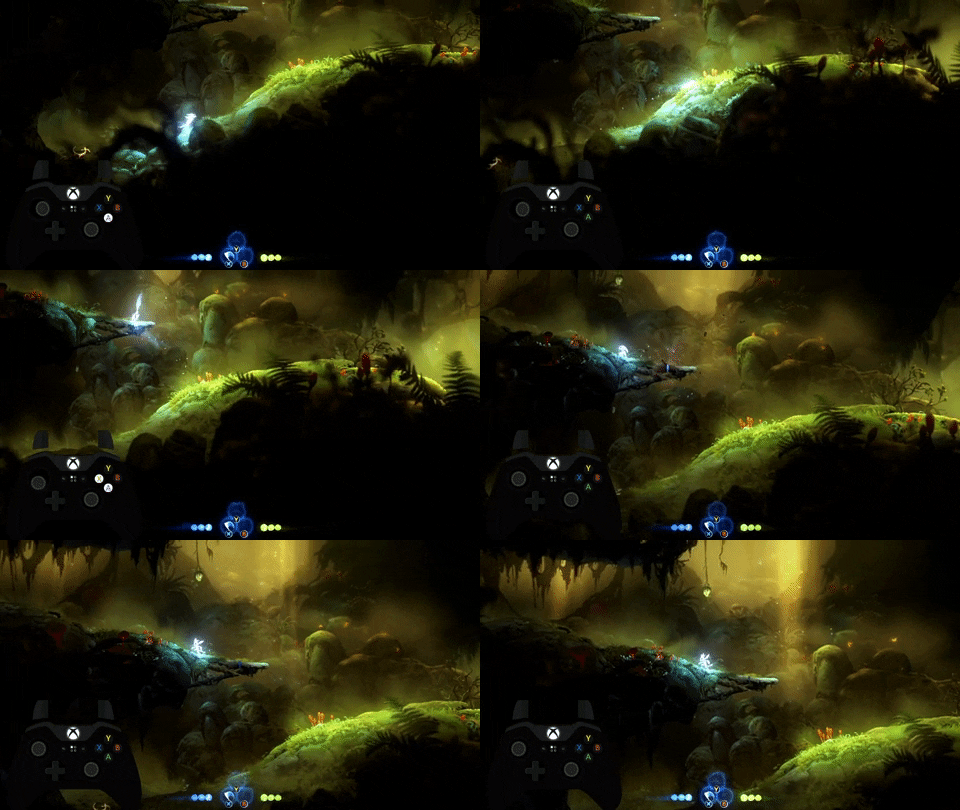
- Down Slashing gives you a very small boost upwards, allowing you to reach some platforms quicker.
Double Slash Boost
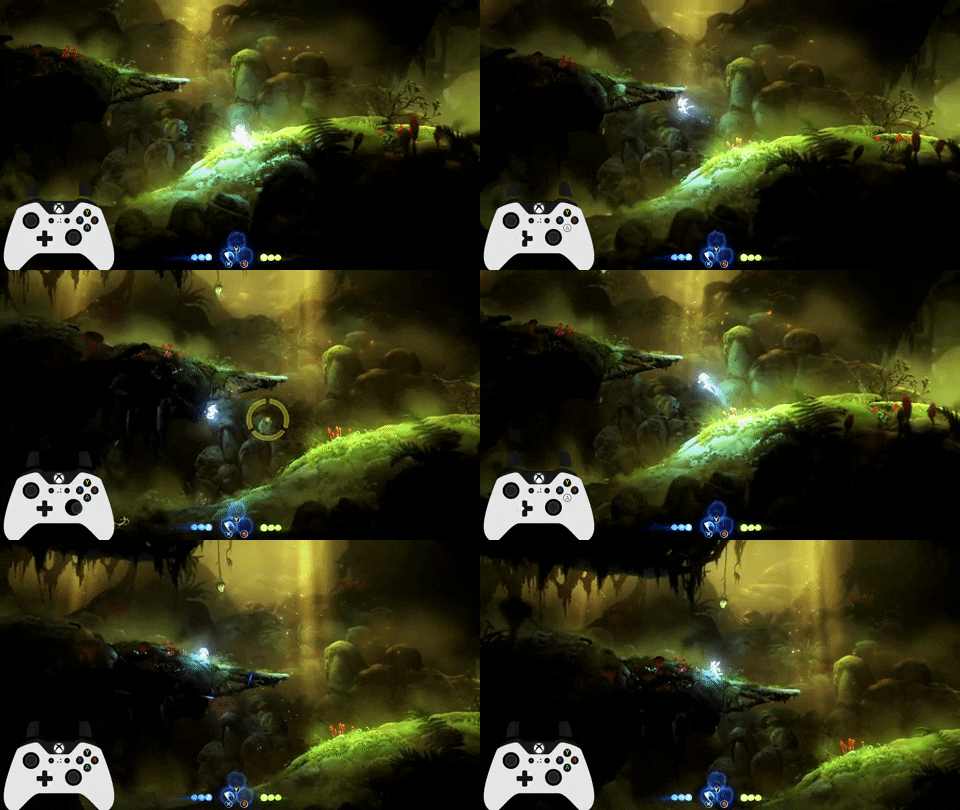
- At the peak of your jump, Slash, then Double Jump and Slash again. Ori will go higher than normal.
- You want to hold jump for as long as possible for the first Slash, even continuing to hold it after you’ve done the Slash.
No Sink Swim

- Ori sinks into the water based on their velocity when entering it. By Dashing just above the water, you can simply jump out again.
- You can Double Jump just before touching the water in the Kwolok fight to avoid having to turn around before you Swim Dash out.
Corner Boost
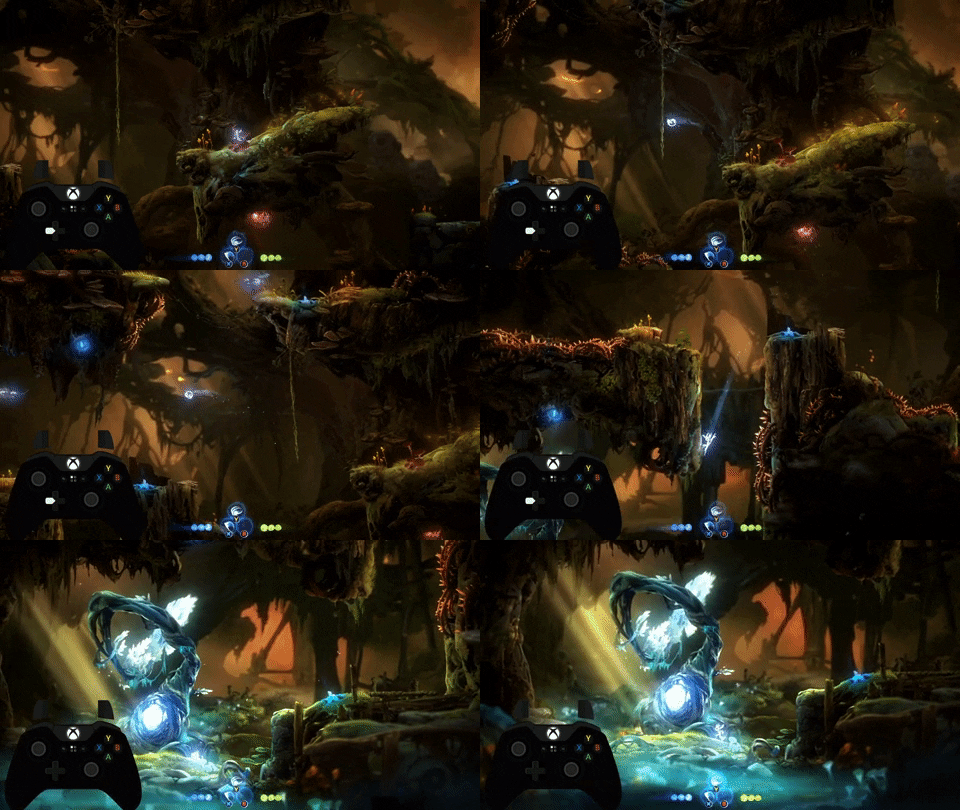
- Performed by touching the very bottom of a curved wall.
- Too precise to do consistently on command, but you can go for it on a few walls. (I’ll add an example video here later!)
Sentry Dash
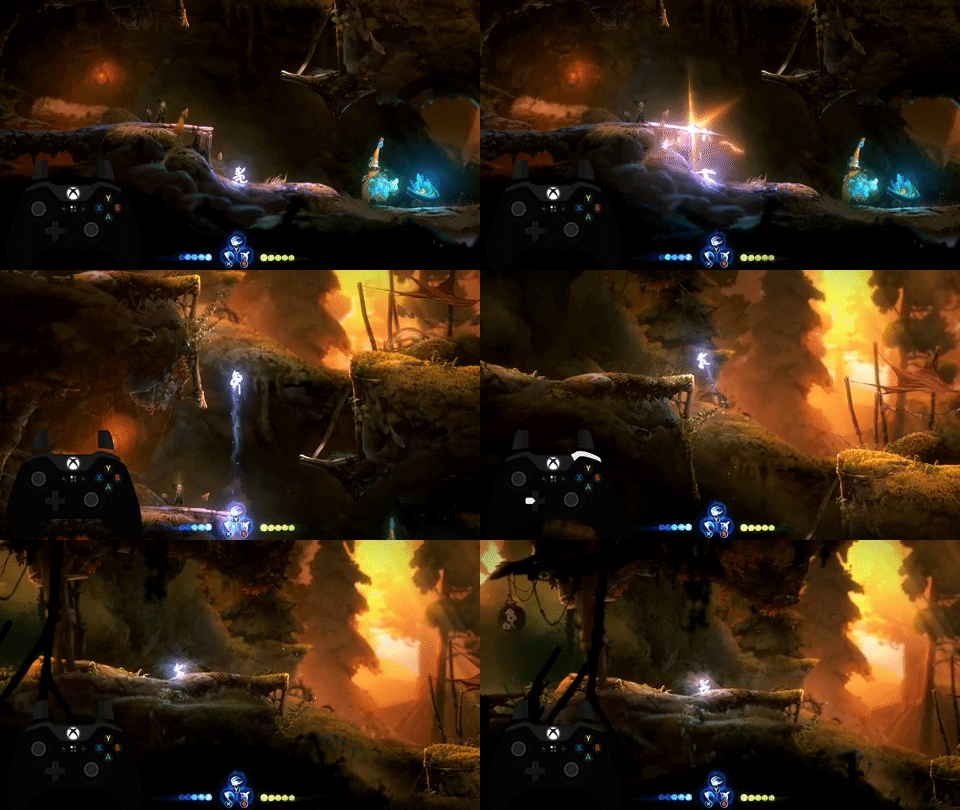
- Performed by pressing Slash, then Sentry, then Dash while standing on an upwards slope.
- Can be very precise, so there's only one spot in the run we do this as of now, and it's in the Advanced Route.
Launch Slide
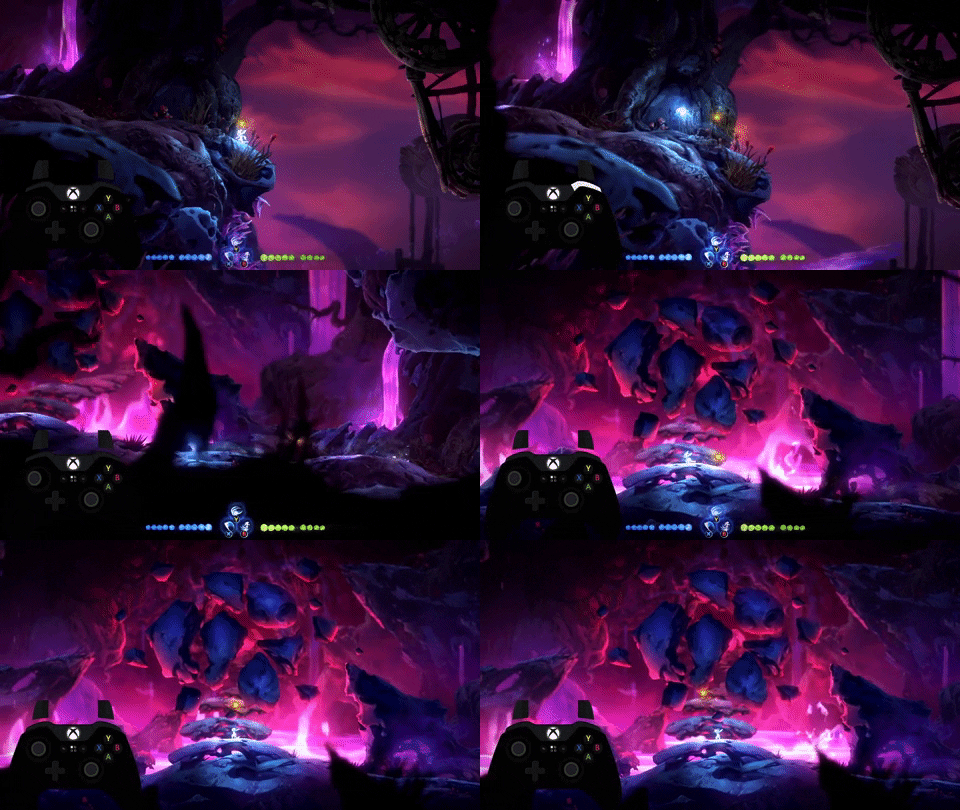
- Performed by Launching into an upward slope at a specific angle.
Landing Roll
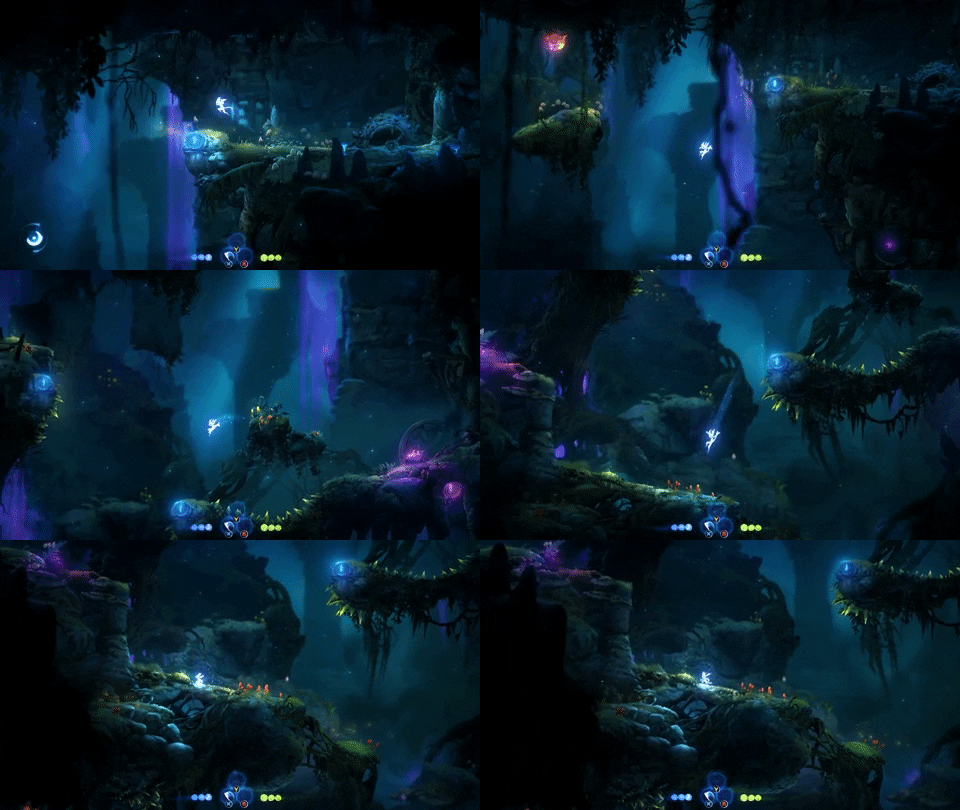
- As long as you're holding a direction, Ori will skip their landing animation from a high fall.
There’s probably a lot more bits of tech - if there’s anything you’re unsure of, let me know and I’ll add it!
Kürzliche Durchläufe


