
This was originally written years ago as a script for a video guide, but I never got around to actually putting the video together, and I probably won't do so any time soon. So instead, I'll put the guide here. Do note that many things covered in this 1-10 guide are also useful to know when running 11-20 and beyond.
How to beat levels 1-10 in 10 minutes or less
Nitrome Must Die is a platform-shooter with a hundred levels, or floors, divided into sets of ten. And today, I’m going to show you how you can speedrun its first set of ten levels in less than ten minutes.
Controls
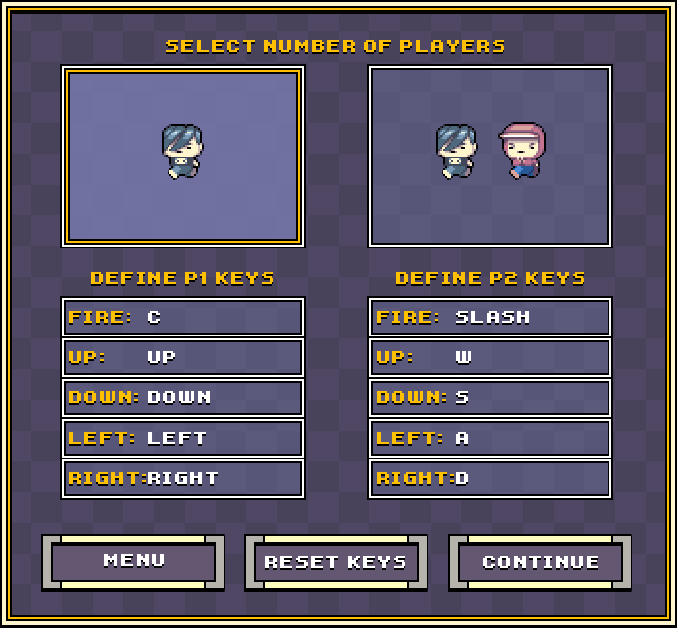
There are 5 keys (which you can rebind): left, right, up (or jump), down, and fire. The character, Austin, accelerates and stops very fast when moving sideways on the ground, making him easy to control. As for jumping, the height of your jump depends on how long you press down on the jump key. However, the window to make shorter jumps is very small, and they’re not too useful in the speedrun anyways, so I won’t be bringing them up again.
Weapons
There are over 30 weapon types in the game, and each has its own unique properties when it comes to:
- Initial number of shots
- Cooldown
- Recoil
- Damage
- Appearance and mode of use
I’ll be using three of the more basic weapons to illustrate this concept: Pistol, Machine Gun and Shotgun.
Pistol

The pistol starts with 70 shots, with every shot having fairly low power. When you press fire, a single shot is fired in a straight line.
The thing that makes the pistol unique is not only that it does not have any recoil, but also that it doesn’t have a cooldown, either. This means your firing rate depends on how fast you are able to mash the fire key.
Machine Gun

The machine gun starts with 150 shots, with single shots having as much power as those from the pistol. However, this weapon does have recoil, as well as a set cooldown. The latter means that if you hold the fire key, you will fire shots in a continuous stream, without needing to mash. Another detail is that the shots don’t fly in a perfectly straight line.
Shotgun

The shotgun starts with 25 shots, with every shot firing several bullets (ten, to be exact). Individually, these bullets are as strong as the pistol’s. The shotgun has decent recoil and a much longer cooldown than most other weapons, but packs a much stronger punch to compensate.

Out of ammo
Whenever you run out of ammunition for the weapon you had, you will find yourself with the Out of Ammo weapon. This weapon always has infinite ammo. Like the pistol, it has no recoil nor cooldown, meaning you need to mash to fire multiple shots. Its shots are weaker than pistol shots, don’t go very far and are affected by gravity. It’s not a great weapon against most enemies, although sometimes it’s the best you have.

Weapon Crates
You collect weapons by collecting crates. They spawn at random locations in levels at regular intervals. Any weapon you collect will automatically override any weapon you happen to already have. If you already had the same weapon in hand, you’ll simply get a full reload.
Level 1
Level 1 is very simple. There are 6 orange nose enemies. Five of them are immediately present, the 6th one spawns a few seconds after you enter. These enemies die in 5 pistol shots each (you always start level 1 with the pistol).
Once you kill all the enemies in a level, all weapon and health crates despawn, and the elevator doors open. The level only ends when you make it into the elevator. Once you enter the elevator, the game transitions to this screen, giving you a short breather between every level. You are prompted to either gamble (up) or bank (down) your score, then to press the fire key when you are ready to head into the next level. The easiest way to get past the elevator transition fast is to mash both keys, those being fire, and either up or down, since the score option doesn’t really matter.
Level 2
Level 2 has 15 small apes. They each take ten pistol shots to kill.
There are two main things to note about this level:
- The enemies spawn on the top platform and fall down towards the floor. They do not turn around at platform edges.
- The enemies spawn on a set cooldown, which is roughly equivalent to the time one of them takes to make it from the top pipe all the way to the bottom pipe. HOWEVER, if you kill all enemies on screen, the next enemy will spawn immediately and the cooldown will be reset. In other words, the faster you kill the enemy currently in front of you, the faster the next one will spawn.
There are two ways to beat this level: the easy and slow way, and the harder but faster way.
The easy way has you stand on the bottom platform and shoot the enemies as they come at you, picking up weapons as you run out. Shotgun is best, followed by machine gun, then pistol.
The harder way has you stand on the top platform and kill enemies as soon as they come out of the pipe. However, since you can’t keep back two enemies at the same time on the short platform, you have to fire 9 shots at the first enemy, then go to the top and fire eleven shots to take out both the first enemy and the one that just spawned. After this, every enemy dies in ten shots.
If you get your hands on a shotgun, there is a trick you can do to skip the wait. Position yourself on this platform, then shoot the enemy as it’s falling from the top platform. After this, quickly move to the top platform and kill the enemies right as they spawn. Note that you have to be very close to them, otherwise not all 10 shotgun bullets will hit and the enemy will live. This takes some practice, and I would recommend skipping it until you’re more confident in your control of the character.
Another thing: since the shotgun has the potential to be so much faster, top-level runs actually use a technique to force a weapon spawn right at the start of level 2, in hopes of getting a shotgun right away (this will be explained in detail later).
Level 3
This level is a challenge level. They work like any level, except for the fact that there is only one weapon type available (with infinite ammo).
Level 3 is the first level where enemy spawn location randomness is a significant factor. Basically: a few enemies spawn in the middle first, you can take them out by jumping and turning around mid-jump (sucker punch has a lingering hitbox). After that, it's really just a lot of improv, so I'd rather let the run speak for itself.
Level 4
This is the only level where the end time will always be roughly the same no matter how well you play. This is because the enemies spawn at a slow rate, and you don't get to kill them fast enough where their death would cause the next enemy to spawn sooner.
The main thing to know here is that you want to exit this level with a shotgun. Thus, it's time to talk about the mechanics of weapon drops and level transition reloads.
Weapon drops
This is a simple one: if you grab a weapon crate while you're out of ammo, a second weapon crate will spawn shortly after. This is known as a double reload. Another detail: crates will usually not contain your current weapon unless the floor only has a single weapon type available.
Reloads
First thing: if you enter an elevator with either one or two shots of your weapon left, you will enter the next level with your ammo half full. Secondly, after you enter a challenge level with a certain weapon, you will always enter the stage following the challenge level with that same weapon at full ammo.
How to exploit this?
Whenever you don't have the shotgun as a weapon in level 4, you want to run out of ammo as soon as possible so you can force a double reload.
I already teased this earlier, but you can also take advantage of this in level 1, by running out before the elevator to trigger a double crate spawn in level 2 in hopes of getting your hands on a shotgun right away.
Anyways, back to level 4: a shotgun has 25 shots, and each enemy here takes two shots to kill, so you should not grab a shotgun until there are 12 or fewer enemies left. This means that even if you enter the level with a shotgun, you will still need to get a reload.
For reasons that will be very clear soon enough, you want to enter level 5 with a minimum of 9 shotgun shots, so make sure to count your shots so you can either exit with 9+, or shoot some extra to exit with 1-2 and get a half reload.
Level 5
This one only has three enemies: employees. Only one is on screen at first: if you do it right, he dies in two shotgun shots.
After you kill an employee, the next one will come out either on the left side or right side. You have to guess on which side they'll spawn and hope you guess correctly so that you can fire your shotgun at them right as they come out to play. Staying in the middle is slower on average, so you should avoid it.
One last detail: if you happen to get a sucker punch weapon crate, do your best to grab it.
Level 6
This is another challenge level. As with level 3, enemy spawn location RNG will greatly influence the result, though there are some tricks you can use to make it a bit more consistent. The main one is: if you stay at your initial spawn location, and an enemy is walking towards the left, you can shoot when his head goes past the boot in the background and the chisel will hit its mark perfectly. Other than that it's mostly improv: don't be afraid to turn around or change your timing if you need to.
Bad run:
Good run:
Level 7
This one is pretty simple: it starts with 5 enemies, and more will spawn incrementally faster as the level goes on. They can come out of either of the two pipes on top. You'll most likely enter this level with either shotgun or sucker punch. Start by killing the bottom ones, then work your way up to the spawn area.
The only weapon available in this level is minigun, and you should grab it as soon as it spawns.
Once again, there is an easy way and a harder way. The easy way has you stand in the middle and jump and shoot each enemy as it comes out.
The harder way, which is only faster if you're well used to the controls, is to stand on one of the top platforms, where you can shoot the enemies much faster after they spawn. Of course, you want them to spawn on your side, but even if a lot of them spawn on the other side, it will still be faster on average than just jumping and shooting from the middle.
Ideally you want plenty of minigun ammo going into the next level, so if you get the opportunity to grab a reload right before the level ends, do it, even if it loses you a couple seconds.
Level 8
This is another one that features a lot of randomness. There are 4 different entry points for the enemies: two on each side of the level. The enemies are bees. They die in just a few shots, but most importantly, they die instantly if you run into them. The best thing to do is thus running into them, then shooting the bees while your invincibility frames are active (in simpler terms, make contact, and if you can’t / if it’s faster, shoot).
The explanation alone might sound complicated, but here’s a run of it: it’s actually pretty simple.
The weapons available in this level are shotgun and machine gun. If you get a shotgun, grab it; not immediately, but just a bit before it despawns; this is because you want as much remaining shotgun ammo as possible when going into level 9.
If you get a machine gun drop, make sure you either a) grab it after running out of minigun ammo so you can get a second drop, or b) don’t grab it at all and keep your minigun, as it’s not a very good weapon to have for level 9.
Level 9
Level 9 features 15 slime traps. They jump forward at a set rate, remaining stationary between jumps. There isn’t really any complicated strategy in play here, although the level is somewhat difficult, and the movement needed takes some getting used to.
Depending on which side the enemies spawn from, the end time of this level can vary a lot between good runs and bad runs.
The only weapon available in this level is boomerang. DO NOT grab it, even if you run out. It’s very difficult to use boomerang effectively against the slime traps in this level, and shooting blanks remains a better option. Your weapon also gets reset going into level 10, so don’t have to worry about running out.
Level 10
This is a boss level. The boss in question is the Nose, which spits out snot at an incrementally fast rate, depending on the phase. This particular boss has three phases. After each phase increase, the snot comes out faster, moves faster, and in the third phase actually aims for you directly.
To start, get up to the second highest platform, and spam your pistol until you run out. Make sure to react if the boss starts moving before then. After you run out, keep shooting blanks until you get a weapon drop. There are three weapons you can get here: b.c. arrow, minigun, and boomerang. Boomerang is by far the best, although the machine gun is an okay alternative, on top of being easier to use. To use the boomerang, fire it as close as you can to the nose, then jump as necessary to ensure the lingering hitbox inflicts as much damage as possible.
As soon as the death animation starts, jump down to the elevator and try to align yourself with the door so you can end the run as soon as possible. Time finishes counting on the first frame of the elevator doors closing.
Machine gun:
Boomerang:
And that’s it! This is how to beat the first 10-level set of Nitrome Must Die in less than ten minutes. If there’s a lot of interest, I might make a guide for the next 10 levels as well (11-20). If you have any questions, you can join the Nitrome Speedrunning Discord server. Anyways, I hope this helps, and thanks for reading.